
Connecting cord dimmers for dummies
Comments: 0
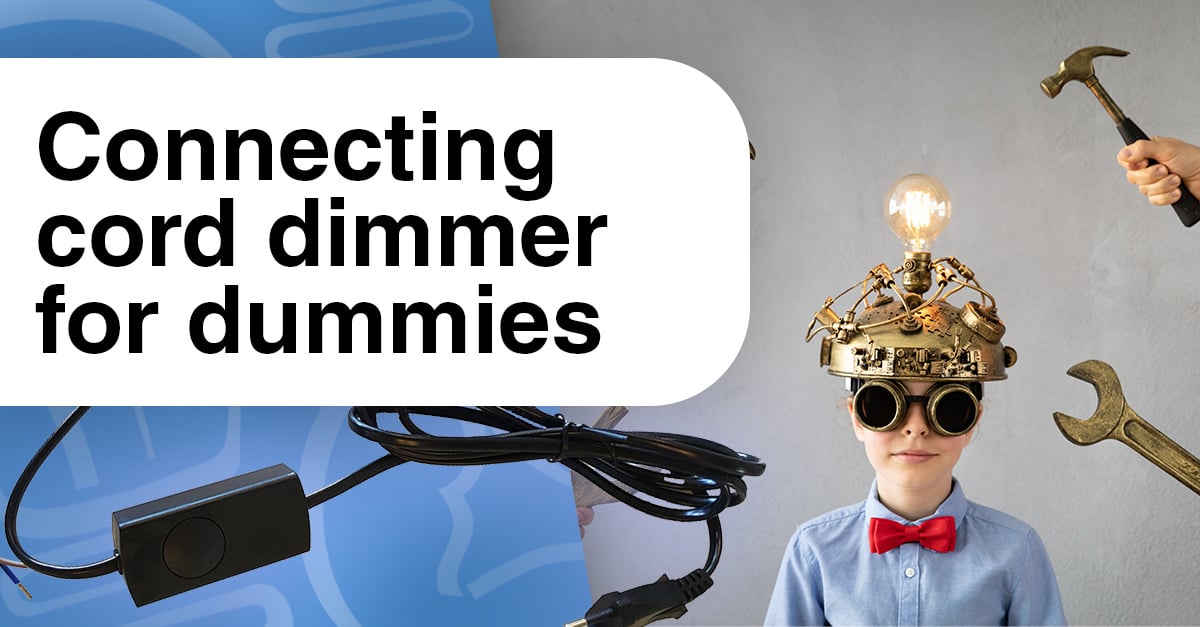
In this blog, we give you a short, simple, universal explanation of how to easily connect the cord dimmers for sale on ET48.
- Before installation, switch off the power (unplug from wall socket).
- Remove the cord switch (if present) and use the wire ends to connect the dimmer OR cut the cable at the desired location and strip the wire ends (blue and brown) to a length of 5mm.
- Open the cord dimmer by loosening the four screws at the bottom of the dimmer.
- Connect the brown wire from the plug to the 'INPUT L' terminal block.
- Connect the blue wire of the plug to the 'INPUT N' terminal block.
- Connect the brown wire of the lamp to the 'LAMP L1' terminal block.
- Connect the blue wire of the lamp to the 'LAMP L2' terminal block
- Tighten the screws hand-tight so that the wires clamp into the terminals.
To make things clearer, we have placed a diagram below.

Need additional explanation? Then consult the manual included in the box or download it from the product page.
There are also instruction videos posted for each dimmer on Tradim's YouTube channel. Useful for visual learners.
Still can't figure it out? No problem! Feel free to contact our customer service.
Led experts are at your service.